
Shopify API를 사용하면 외부 앱이 Shopify 스토어와 데이터를 주고받을 수 있습니다. 본 예제에서는 제품 목록을 가져와 React와 Polaris를 이용하여 Admin 스타일 테이블로 출력하는 전체 구현을 안내드립니다. 출력할 데이터는 제품 이미지, 타이틀, 상태, SKU, 바코드, 가격, 재고 수량, 상세 설명, 짧은 설명입니다.
- 백엔드 API 코드:
/api/products(Node.js + Express)
// /api/products.js

import express from "express";
import fetch from "node-fetch";

const router = express.Router();

// GET /products → Shopify에서 상품 목록 가져오기
router.get("/products", async (req, res) => {
  const shop = "your-shop-name.myshopify.com"; // 본인의 Shopify store 도메인으로 변경
  const accessToken = "shpat_xxxxxxxxxxxxxxxxx"; // 실제 Shopify Admin API 토큰으로 교체

  const url = `https://${shop}/admin/api/2024-01/products.json`;

  try {
    const response = await fetch(url, {
      method: "GET",
      headers: {
        "X-Shopify-Access-Token": accessToken,
        "Content-Type": "application/json",
      },
    });

    const data = await response.json();
    res.json(data);
  } catch (error) {
    console.error("Error fetching products:", error);
    res.status(500).json({ error: "Failed to fetch products" });
  }
});

export default router;
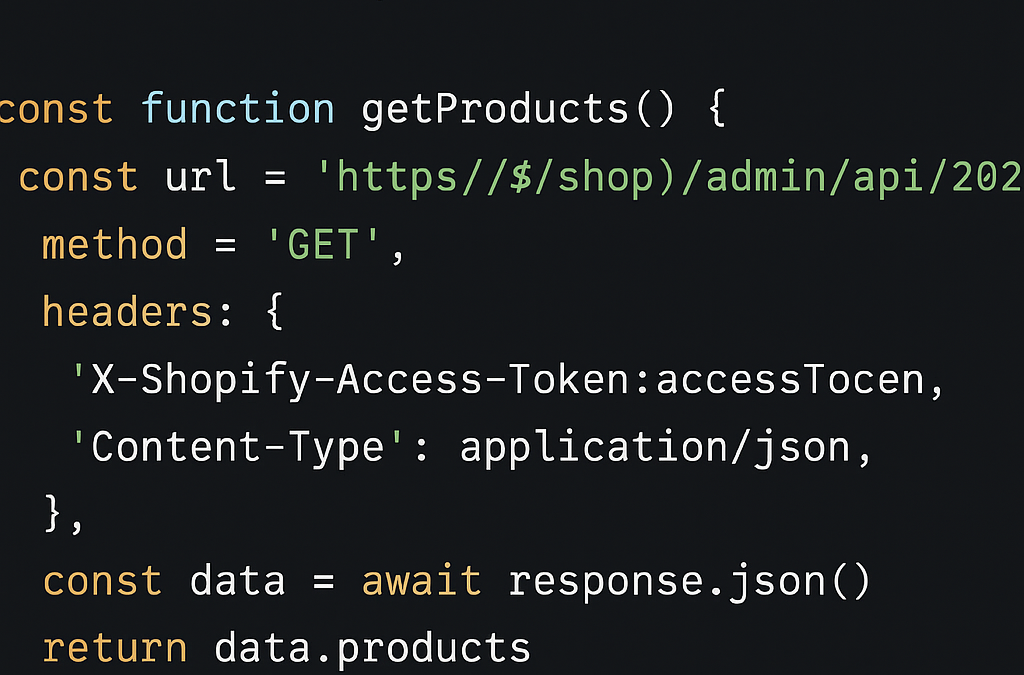
위 코드는 Express 기반 API 라우터로 구성되어 있으며, Shopify에서 제품 데이터를 가져와 JSON 형식으로 클라이언트에 전달합니다. Shopify API URL은 2024년 1월 버전 기준입니다. Access Token은 앱 인증을 통해 받은 값으로 설정합니다.
- 프론트엔드 코드: React + Polaris 테이블 컴포넌트
// ProductList.jsx
import { useEffect, useState } from "react";
import { Card, DataTable, Spinner, Thumbnail } from "@shopify/polaris";

export default function ProductList() {
  const [products, setProducts] = useState(null);

  useEffect(() => {
    fetch("/api/products")
      .then((res) => res.json())
      .then((data) => setProducts(data.products));
  }, []);

  if (!products) return <Spinner accessibilityLabel="Loading" size="large" />;

  const rows = products.map((product) => {
    const variant = product.variants[0] || {};
    return [
      <Thumbnail source={product.image?.src} alt={product.title} />,
      product.title,
      product.status,
      variant.sku || "N/A",
      variant.barcode || "N/A",
      variant.price || "0",
      variant.inventory_quantity ?? "N/A",
      product.body_html?.slice(0, 80) || "No description",
      product.metafields?.short_description?.value || "N/A",
    ];
  });

  return (
    <Card title="Product List">
      <DataTable
        columnContentTypes={[
          "text", "text", "text", "text", "text", "numeric", "numeric", "text", "text"
        ]}
        headings={[
          "Image", "Title", "Status", "SKU", "Barcode", "Price", "Inventory Qty", "Description", "Short Description"
        ]}
        rows={rows}
      />
    </Card>
  );
}
위 코드는 React 컴포넌트로, Polaris의 Card 및 DataTable 컴포넌트를 이용해 제품 목록을 표 형태로 출력합니다. 데이터는 처음 로딩 시 /api/products에서 가져오며, 제품의 대표 이미지, 제목, 상태, SKU, 바코드, 가격, 재고 수량, 설명 및 짧은 설명을 행 단위로 출력합니다. 이미지가 없는 경우를 대비하여 ?. 연산자를 사용하였고, 짧은 설명은 Metafield로 관리되므로 별도의 세팅이 필요할 수 있습니다.
표를 구성하는 각 열은 Polaris의 columnContentTypes와 headings 속성을 통해 명시합니다. 제품 설명은 HTML 형식으로 제공되므로 화면에는 일부 문자열만 자른 형태로 보여줍니다.
요약하자면, 위의 백엔드와 프론트엔드 코드를 연결하면 Shopify Admin 제품 목록과 유사한 테이블 UI를 구현할 수 있습니다. 필요한 경우 짧은 설명 필드인 short_description을 Metafield로 추가하여 해당 데이터를 함께 표시할 수 있습니다. 이 구조는 커스텀 Shopify 앱 또는 외부 대시보드에서 유용하게 활용될 수 있습니다.
위 코드의 상세 분석
1. 백엔드 코드 (/api/products)
Shopify로부터 제품 정보를 받아오는 Express 라우터 코드입니다.
import express from "express";
express는 Node.js에서 서버 기능을 쉽게 구현할 수 있게 해주는 프레임워크입니다.
import fetch from "node-fetch";
fetch는 외부 API 요청을 보낼 수 있도록 도와주는 함수입니다.
const router = express.Router();
여러 개의 API 경로를 그룹으로 관리할 수 있도록 라우터 인스턴스를 생성하는 코드입니다.
router.get("/products", async (req, res) => {
GET /api/products 요청이 들어왔을 때 실행할 비동기 함수를 정의하는 부분입니다.
const shop = "your-shop-name.myshopify.com";
Shopify 스토어의 도메인 주소를 변수에 저장합니다.
const accessToken = "shpat_xxxxxxxxxxxxxxxxx";
Shopify에서 발급한 앱 인증 토큰을 저장하는 부분입니다. 반드시 보안을 유지해야 합니다.
const url = `https://${shop}/admin/api/2024-01/products.json`;
Shopify의 제품 목록을 요청할 API 주소입니다. API 버전 2024-01을 사용하고 있습니다.
  try {
    const response = await fetch(url, {
Shopify API에 요청을 보내고 응답을 기다리는 코드입니다.
method: "GET",
요청 방식은 데이터를 조회하는 용도의 "GET"입니다.
      headers: {
        "X-Shopify-Access-Token": accessToken,
        "Content-Type": "application/json",
      },
요청 헤더에 인증 토큰과 JSON 형식임을 명시합니다.
    });

    const data = await response.json();
응답 데이터를 JSON 형태로 변환하여 data에 저장합니다.
res.json(data);
가져온 제품 데이터를 클라이언트에 다시 JSON으로 전달합니다.
  } catch (error) {
    console.error("Error fetching products:", error);
에러 발생 시 콘솔에 에러 내용을 출력합니다.
    res.status(500).json({ error: "Failed to fetch products" });
  }
});
에러 응답을 500번 코드와 함께 전송합니다.
export default router;
라우터를 외부에서 사용할 수 있도록 내보냅니다.
2. 프론트엔드 코드 (React + Polaris)
Shopify Admin 스타일로 제품 데이터를 화면에 출력하는 컴포넌트입니다.
import { useEffect, useState } from "react";
React의 상태관리 함수 useState와 생명주기 함수 useEffect를 가져옵니다.
import { Card, DataTable, Spinner, Thumbnail } from "@shopify/polaris";
Shopify Polaris UI 컴포넌트들을 불러옵니다. Card는 박스, DataTable은 표, Spinner는 로딩 표시, Thumbnail은 이미지 출력을 담당합니다.
export default function ProductList() {
ProductList라는 이름의 컴포넌트를 정의합니다.
const [products, setProducts] = useState(null);
제품 데이터를 저장할 상태 변수를 선언합니다. 처음에는 데이터가 없기 때문에 null로 설정합니다.
useEffect(() => {
컴포넌트가 처음 마운트될 때 한 번 실행되는 함수입니다.
fetch("/api/products")
백엔드에서 만든 API (/api/products)로 데이터를 요청합니다.
.then((res) => res.json())
응답받은 데이터를 JSON으로 변환합니다.
.then((data) => setProducts(data.products));
products 배열을 상태로 저장합니다.
}, []);
의존성 배열을 빈 배열로 설정하여 최초 1회만 실행되도록 합니다.
if (!products) return <Spinner accessibilityLabel="Loading" size="large" />;
데이터가 아직 없는 경우에는 로딩 중 스피너를 표시합니다.
const rows = products.map((product) => {
products 배열을 반복하여 테이블의 각 행(row)을 만듭니다.
const variant = product.variants[0] || {};
첫 번째 변형(Variant) 데이터를 꺼냅니다. 가격, SKU 등은 Variant에 포함되어 있습니다.
    return [
      <Thumbnail source={product.image?.src} alt={product.title} />,
제품 이미지를 출력합니다. Polaris의 Thumbnail을 사용하며, 이미지가 없을 경우를 대비해 ?. 연산자를 사용합니다.
product.title,
제품의 제목을 표시합니다.
product.status,
제품의 상태(active, draft 등)를 표시합니다.
variant.sku || "N/A",
SKU 번호를 출력하며, 없을 경우 “N/A”로 대체합니다.
variant.barcode || "N/A",
바코드를 출력하며, 없을 경우 “N/A”로 표시합니다.
variant.price || "0",
가격을 출력하며, 없을 경우 “0”으로 표시합니다.
variant.inventory_quantity ?? "N/A",
재고 수량을 출력합니다. 값이 없을 경우 “N/A”를 표시합니다.
product.body_html?.slice(0, 80) || "No description",
제품의 상세 설명(body_html)을 80자까지만 잘라서 출력합니다. HTML 코드가 포함될 수 있어 일부만 보여주는 것이 안전합니다.
product.metafields?.short_description?.value || "N/A",
짧은 설명(short description)은 Metafield에서 가져오며, 없을 경우 “N/A”로 대체합니다.
    ];
  });
위의 데이터 배열을 반환합니다.
  return (
    <Card title="Product List">
표 전체를 카드 형태로 감쌉니다. 타이틀은 “Product List”입니다.
      <DataTable
        columnContentTypes={[
          "text", "text", "text", "text", "text", "numeric", "numeric", "text", "text"
        ]}
각 열(column)의 데이터 타입을 지정합니다. 예: 숫자는 numeric, 일반 문자열은 text입니다.
        headings={[
          "Image", "Title", "Status", "SKU", "Barcode", "Price", "Inventory Qty", "Description", "Short Description"
        ]}
각 열의 헤더를 설정합니다.
rows={rows}
앞서 만든 rows 배열을 테이블 본문에 출력합니다.
      />
    </Card>
  );
}
전체 UI를 마무리합니다.
이와 같이 구성하면 Shopify의 Admin 제품 목록과 유사한 구조로 데이터를 불러오고 출력할 수 있습니다
' 크레딧 완벽 정리: 구독 플랜별 사용 팁 및 성공 전략 1")


